How to Paint Unfinished Kitchen Cabinets
Steve NoriegaA coat of paint can have a significant impact on transforming a kitchen space. However, renovating a kitchen can incur considerable expenses and painting is a particularly costly aspect. To minimize remodeling costs, it's worthwhile exploring techniques for painting your unfinished kitchen cabinets.
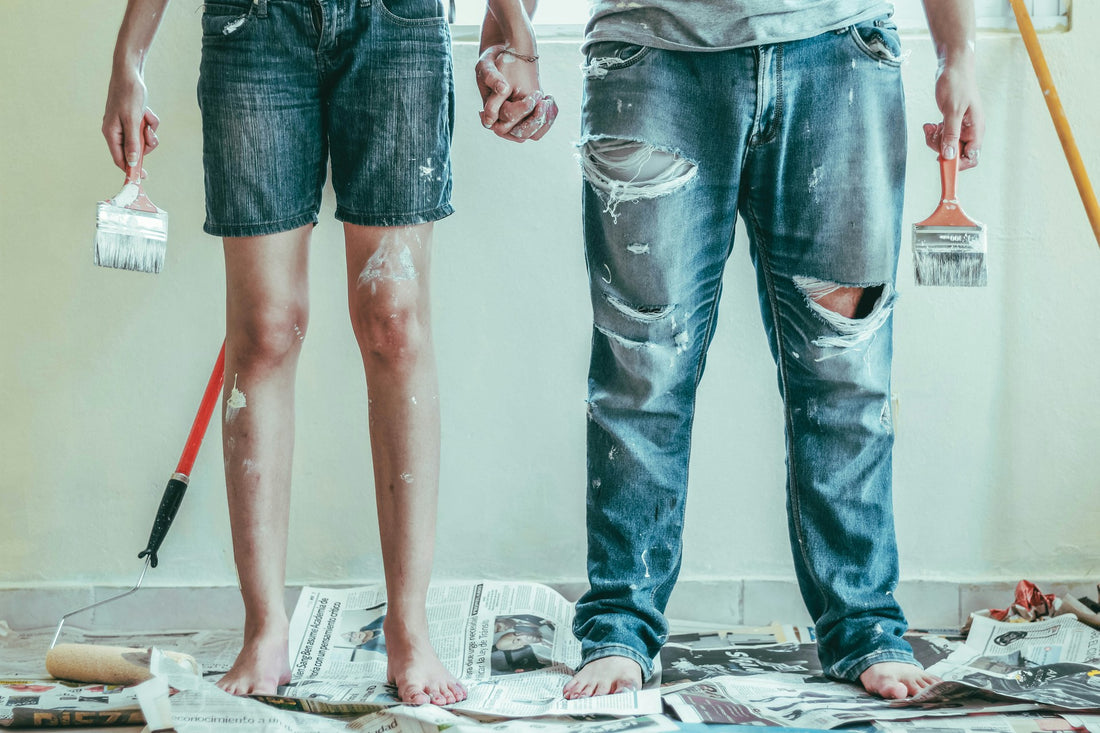
While you don't always need professional help to complete your project, it's wise to come up with a game plan to help paint your cabinets. By correctly painting your unfinished cabinets, you can help protect them from regular everyday use.
In our blog, we’ll discuss how to paint unfinished kitchen cabinets for your next remodeling project.
How to Paint Unfinished Kitchen Cabinets
Below are ten steps on how to paint unfinished kitchen cabinets.
1. Select the Perfect Cabinets
The first step when painting unfinished cabinets is to ensure you’re selecting the perfect cabinets. The quality of your cabinets comes down to materials, preparation, paint, and how they’re installed. When choosing, you’ll want to ensure you're using solid wood such as walnut, maple, or oak.
Cabinets such as cedar or pine aren’t ideal for kitchen cabinets because they emit harmful organic compounds that can cause various health problems for individuals with asthma. Additionally, hardwood cabinets are more durable than softwood.
2. Select the Right Paint
When remodeling, many homeowners choose paint colors recommended by professionals, but not all kitchen cabinet paint is created equally. When selecting paint, you’ll get to choose from acrylic, latex, or oil-based paint. The standard option for kitchen cabinets is oil-based paint because of its extensive coverage areas, stain resistance, and easy cleaning but latex or acrylic paints tend to have less VOCs (volatile organic compounds).
If you touch a cabinet with grease on your hands, you can easily clean the surface with oil-based paint. You should also select the sheen, which comes in satin, gloss, or semi-gloss. The more gloss you have in your paint, the more durable your kitchen cabinets will be and the easier it will be to clean.
Additionally, it's also essential to keep in mind the potential VOCs within oil-based paint. Using paint with these compounds near food can potentially cause various health problems over a long period of time. When using acrylic or latex paint, they typically have low VOCs. These is a great reason why you should go with unfinished kitchen cabinets. They allow you to personally make sure that low VOC products are being used with our low VOC cabinets to ensure a healthy home.
3. Disassemble Cabinets
When learning how to paint unfinished kitchen cabinets, one of the first things you’ll do is prep the space and disassemble the cabinets. You can paint your cabinets without taking apart the hardware, but you won’t cover every area with paint. It’s also easier to avoid paint drips when you’re painting on a horizontal surface.
4. Make Labels
One of the essential steps you won't want to skip is labeling everything. To make the process easier, you can document the dimensions of your kitchen, including the number of boxes and doors. Create a label for each box, and mark doors as "left or right" for their assignment box.
When painting, ensure you remove screws and hinges, then carefully place them in their own labeled bag according to location. Additionally, ensure you keep your shelf hardware separate from the cabinet door hardware.
5. Cover the Area
While remodeling your kitchen, cover all work areas, including the floors, walls, countertops, and appliances. For the floors, you can use a drop cloth for easier cleanup and plastic for the ceilings and walls to avoid spraying unwanted sections. When using paint sprayers, sometimes this can produce an over spray, which can leave you with more of a mess.
Even though this step is more time-consuming, being able to apply primer and spray will help take up less time than if you were using a paint brush or roller.
6. Sand and Fill
If you forget to sand your unfinished kitchen cabinets, this can cause peeling over time, especially in the kitchen, which is used daily. Sanding also helps develop pores in the cabinets, which allow the primer and paint to sit in. To avoid imperfections in the wood, you should use a medium-sized sandpaper.
Once sanding is completed, remove all the dust by using a vacuum or brush, followed by a tack cloth to remove the remaining dust. If you need to repair holes, you can use wood filler to fill them. Before sanding, you should give the wood filler plenty of time to dry.
7. Prime
Before painting unfinished kitchen cabinets, you’ll want to use an oil-based primer since it can seal the porous areas of the wood. To get a smooth finish, keep one foot away during priming. To dry and cure, it takes an oil-based primer for around three hours.
Once thoroughly dried, sand your unfinished cabinet doors with sandpaper to make the primer even. During this process, you might notice dust settling in the primer, so you should sand, remove the dust, and then tack. For the first and second coats of paint, the oil-based paint will provide the glue.
8. Paint
When discovering how to paint unfinished kitchen cabinets, the preparation leading up to painting is to help achieve a quicker painting completion. While painting, you should keep approximately a foot away to achieve an even finish. To avoid getting paint in one particular area, you should start and finish before making contact with the cabinet.
Once you’ve completed the first coat, lightly sand your cabinets. Next, add a second coat of primer and follow the exact process. Once the primer has dried, lightly sand the cabinets and apply a second coat of paint.
9. Clean and Finish
When painting the unfinished kitchen cabinets, ensure you give yourself enough time to clean the area once appropriately completed. Once the paint has thoroughly dried, remove any coverings from your floors and countertops, along with removing tape from the hinges. To ensure the line stays straight and neat, slowly peel the painter's tape.
Once you’ve finished painting, you should reinstall the hardware.
10. Reinstall Hardware
Once the process of painting your unfinished kitchen cabinets is completed, reinstalling hardware should be a breeze. It’s essential to remember that you shouldn’t install the hardware until the paint has thoroughly dried.
How to Paint Unfinished Kitchen Cabinets: FAQ

If you desire a smooth appearance, you will need to sand and paint your unfinished kitchen cabinets. However, if you prefer an unfinished appearance, you’ll want to keep your cabinets as is.
2. Should I spray or brush unfinished cabinets?
In many situations, spray painting your cabinets is the quickest and most efficient method.
3. How many times should you prime unfinished cabinets?
In general, you should apply two coats of primer to your kitchen cabinets. The first coat of primer will allow the surface to seal and provide a smoother surface to paint, while the second coat of primer helps with adhesion and coverage.
4. What type of paint is best for unfinished cabinets?
The best paint to use for unfinished cabinets is latex or acrylic for a healthy home.